Development of custom electronic boards with CNC Router.
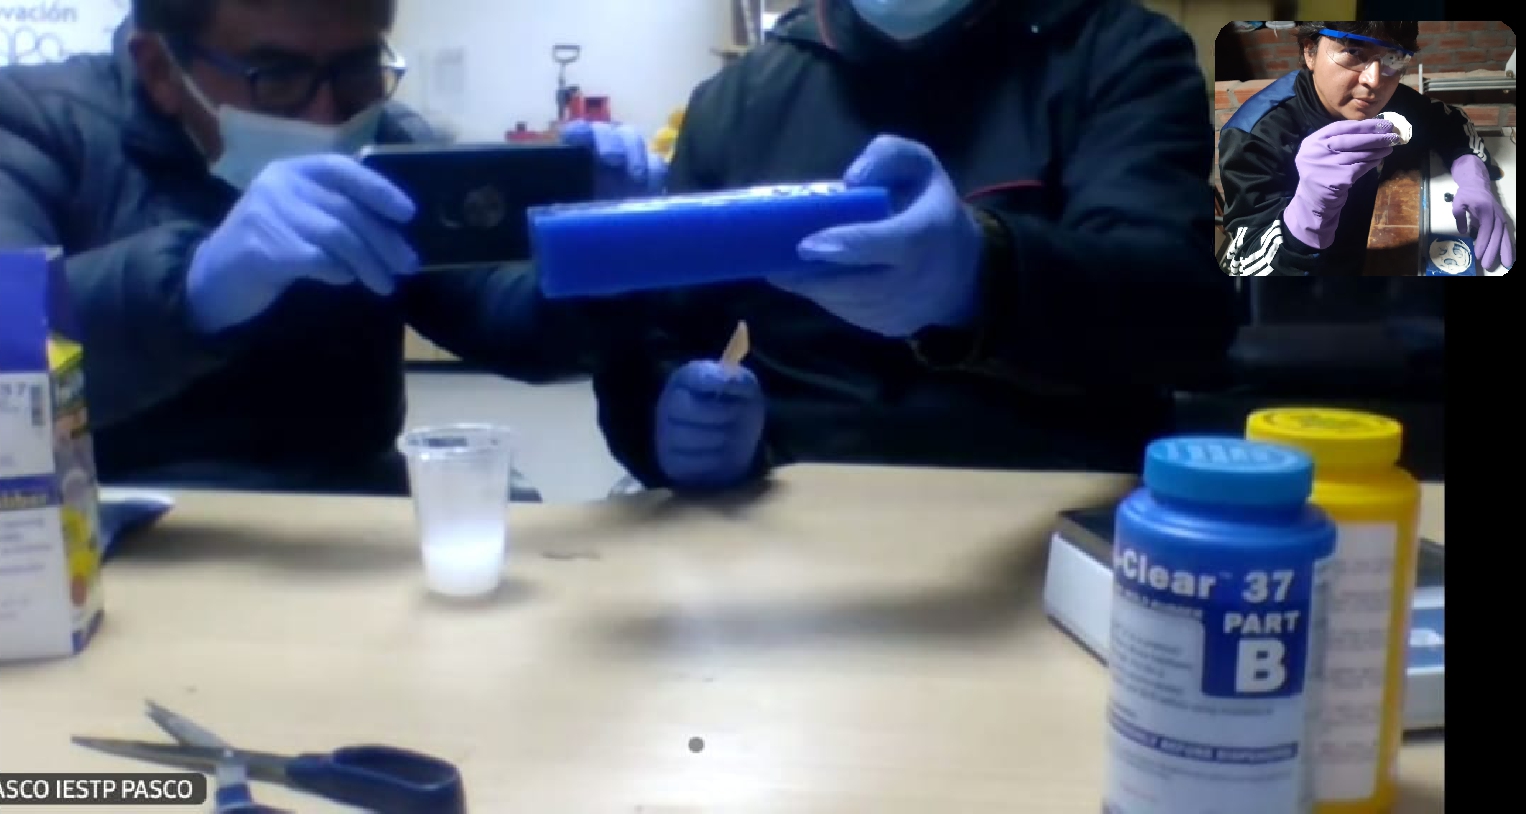
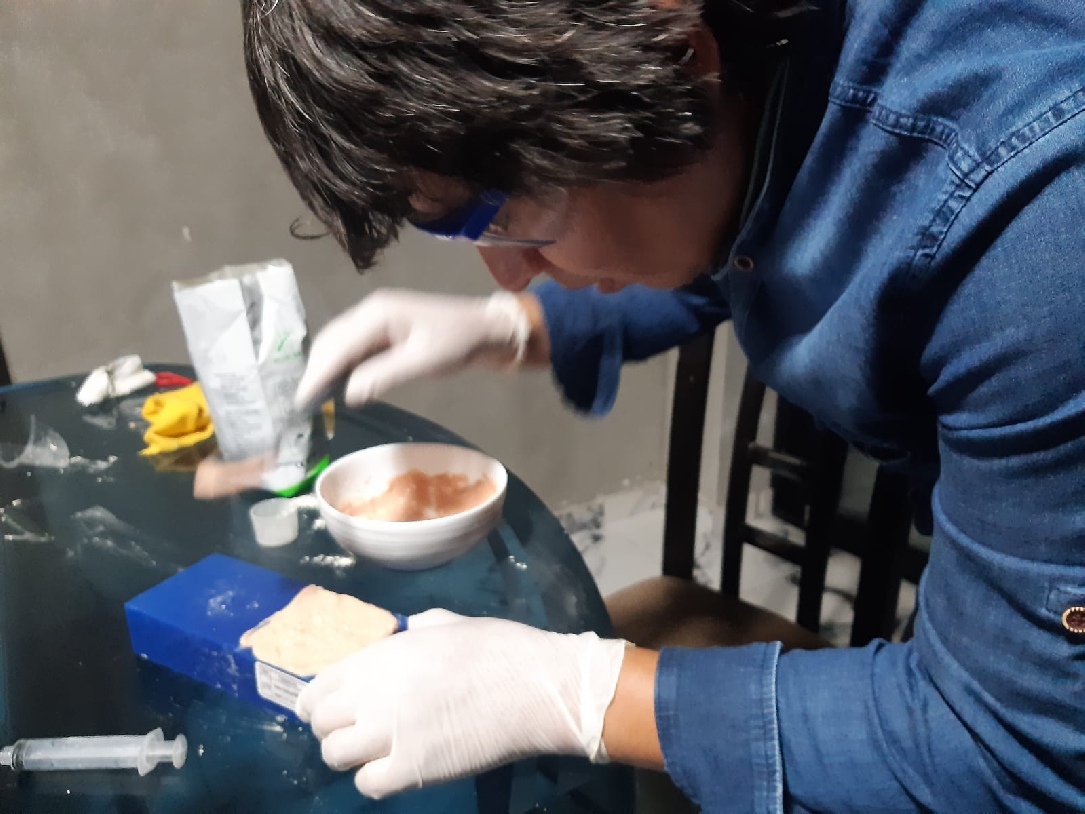
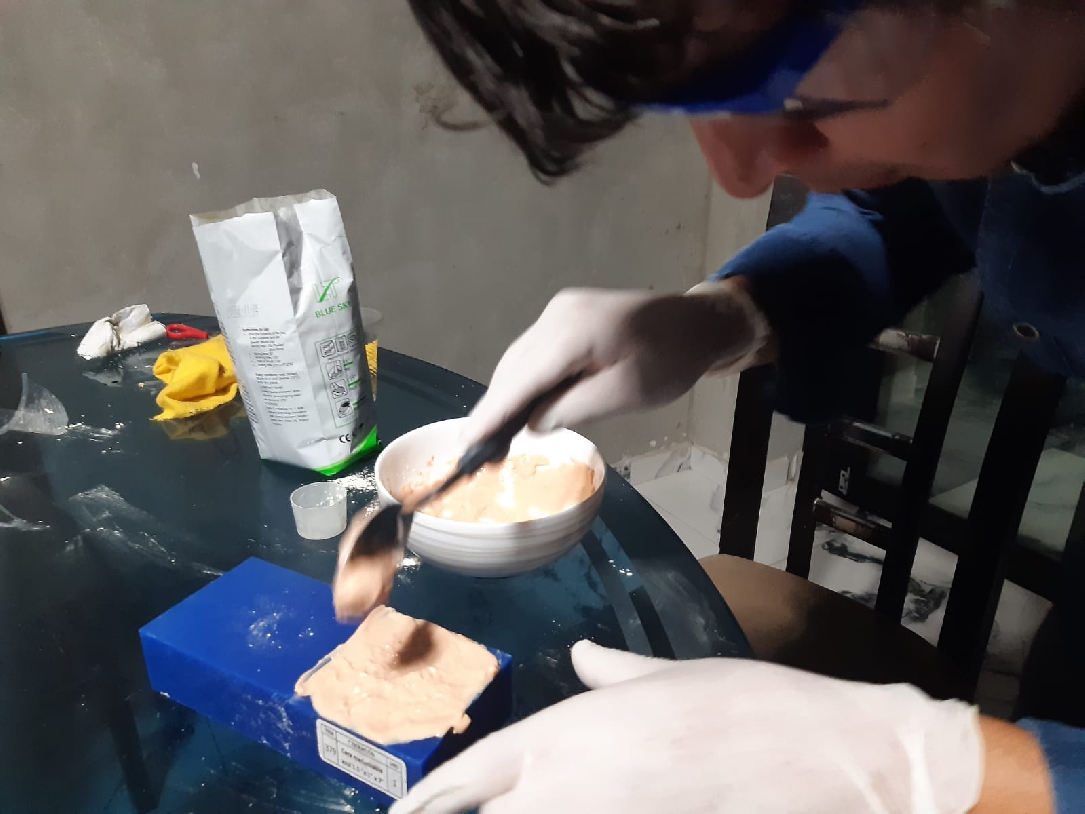
For group work, we met through Google Meet with colleagues Wilber and Renso, who are in the city of Pasco. We carry out tests using materials such as wax with the CNC Router and latex for modeling, in order to obtain better results in later stages.SORTA-Clear.
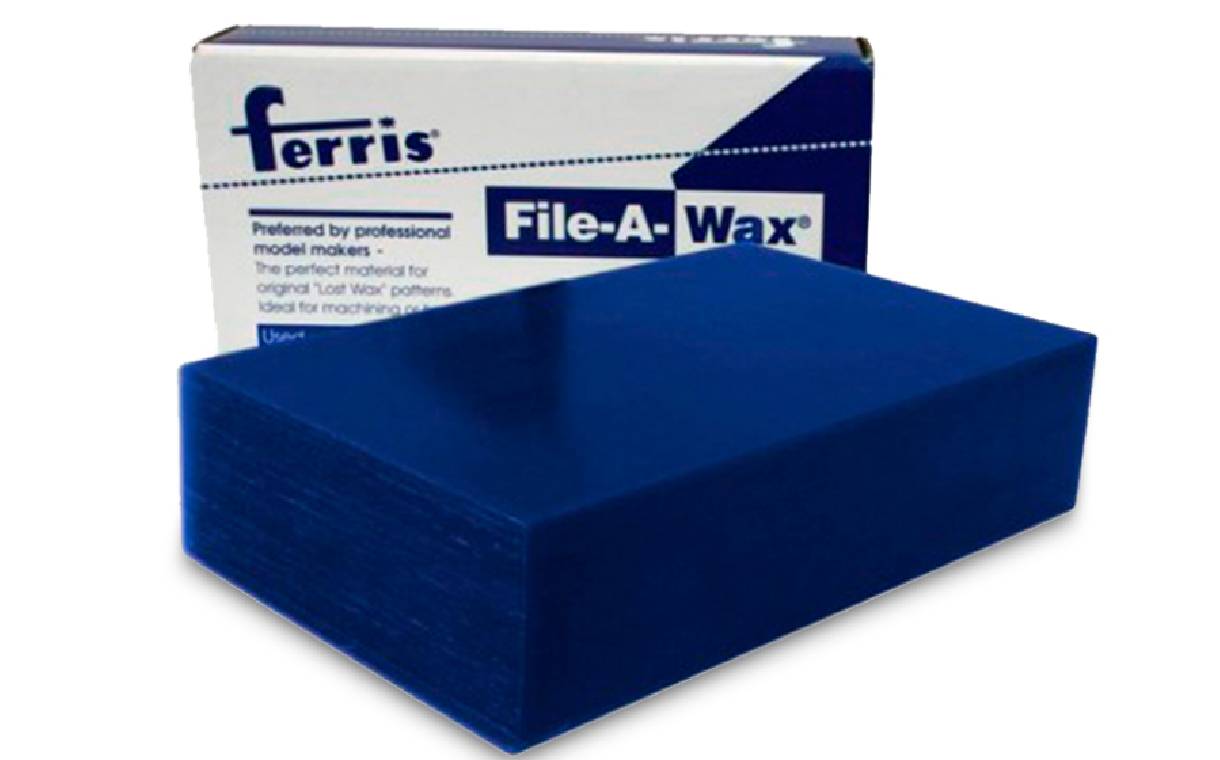
Ferris File-A-Wax Blue is a softer wax formulated for excellent flexibility strength. The blue colored wax can be carved in the finest of sections, still retaining excellent details. Good for rounded corners and less intricate designs. Due to the low ash content, this product is ideal for the investment casting process.

In this collaborative project, we used machinable wax to prepare the mold for the positive part, which allowed us to carry out tests with our materials.

While carrying out some tests, we faced difficulties at first, since it was our first time working with these materials
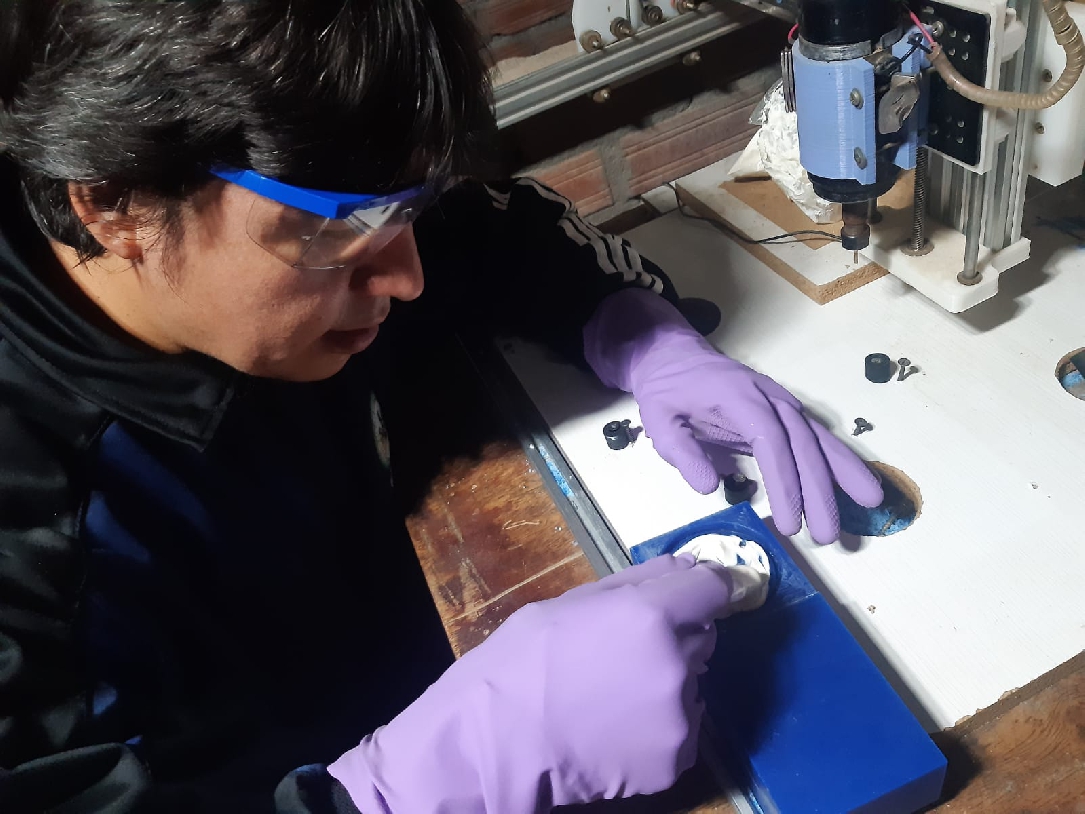
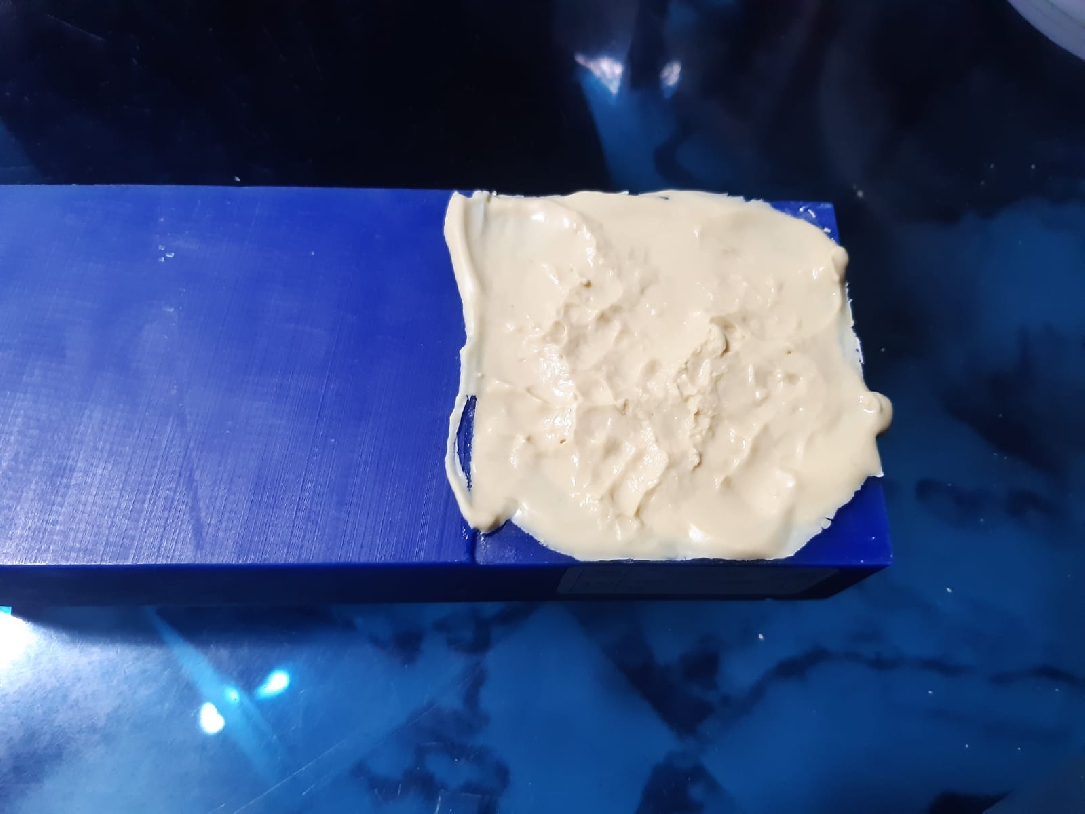
Finding the right consistency turned out to be the most challenging, but we managed to compare results.
Team testing was necessary and very helpful in finding the right consistency with the SORTA CLEAR material. I will take this into account to carry out the next experiments and works individually.
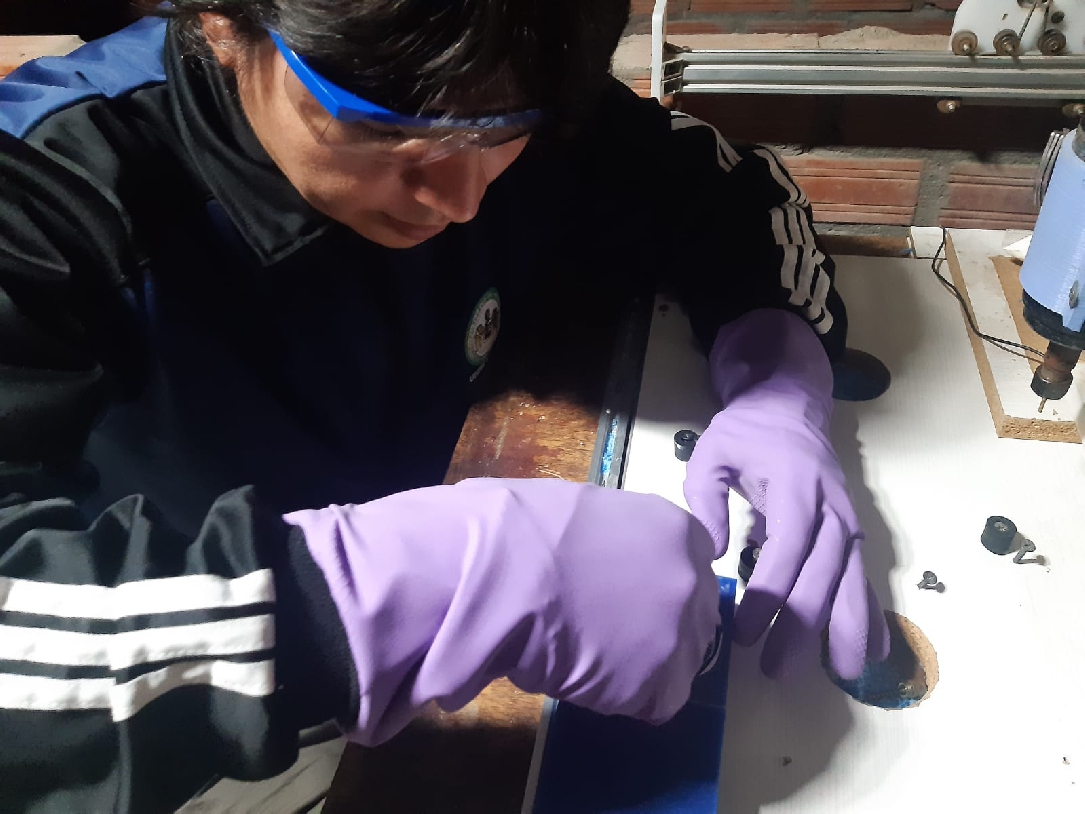
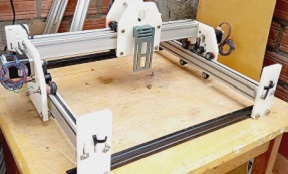
For my individual work this week, I will be using MACHINABLE WAX and Alginate Impression. In my case, I will create the positive part mold using the CNC Router that I built at home.
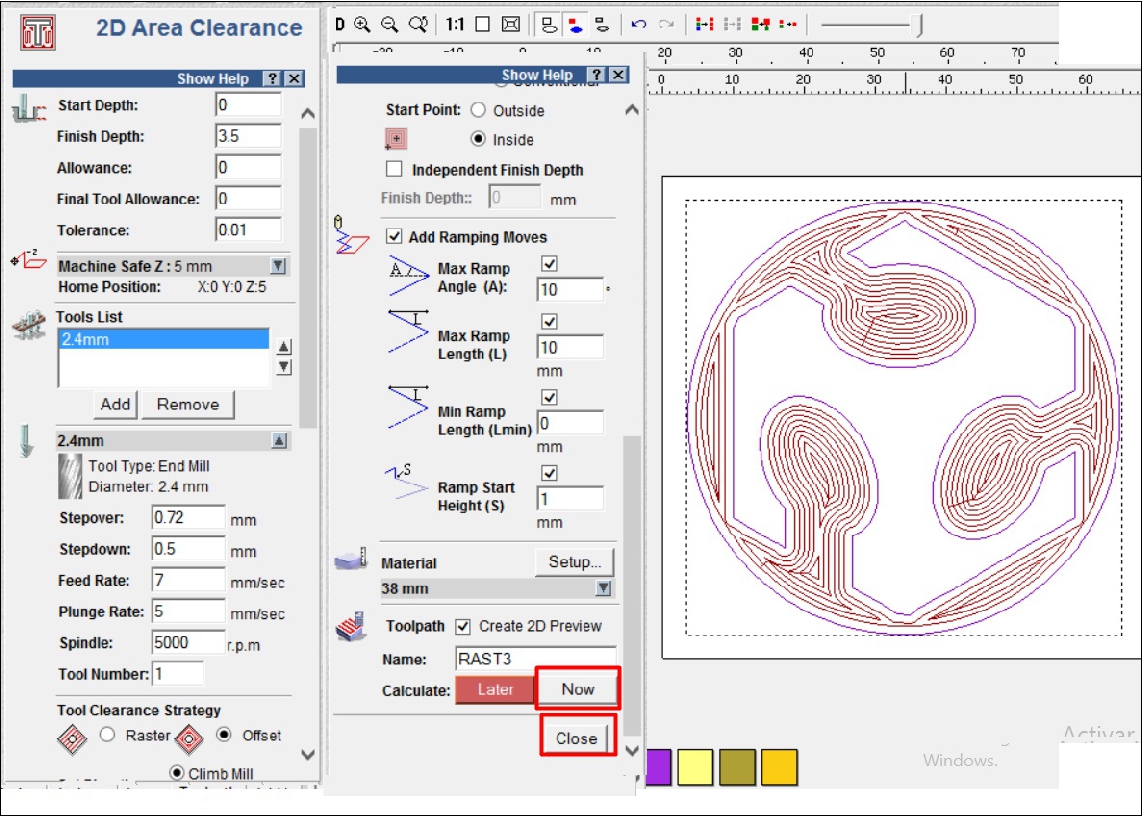
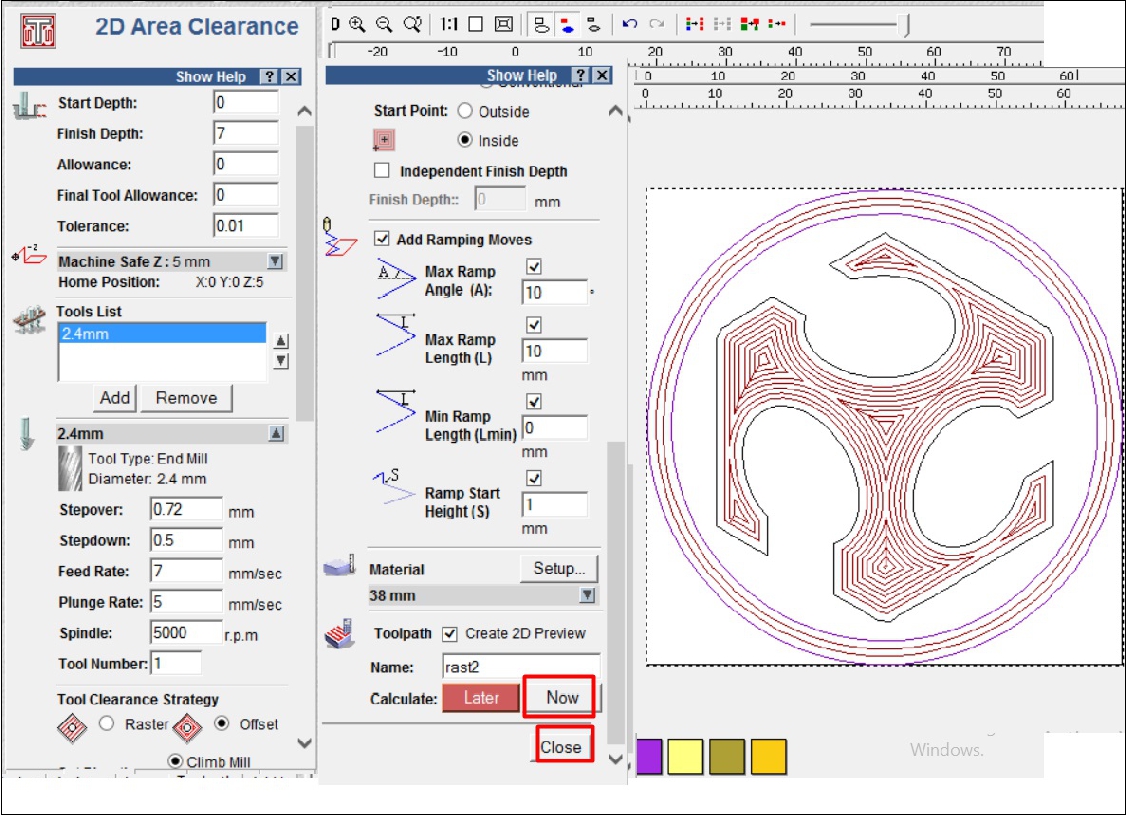
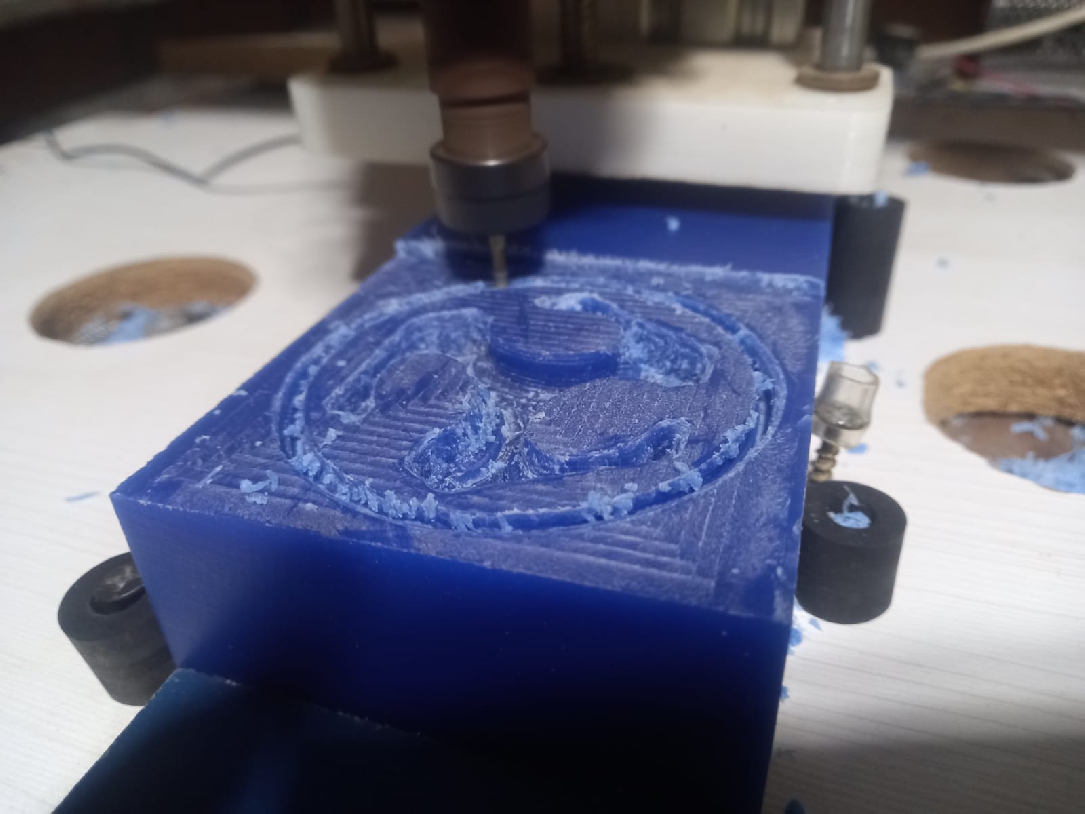
For this project, we began machining using ArtCAM software to perform roughing in three sections, as shown in the figures below.

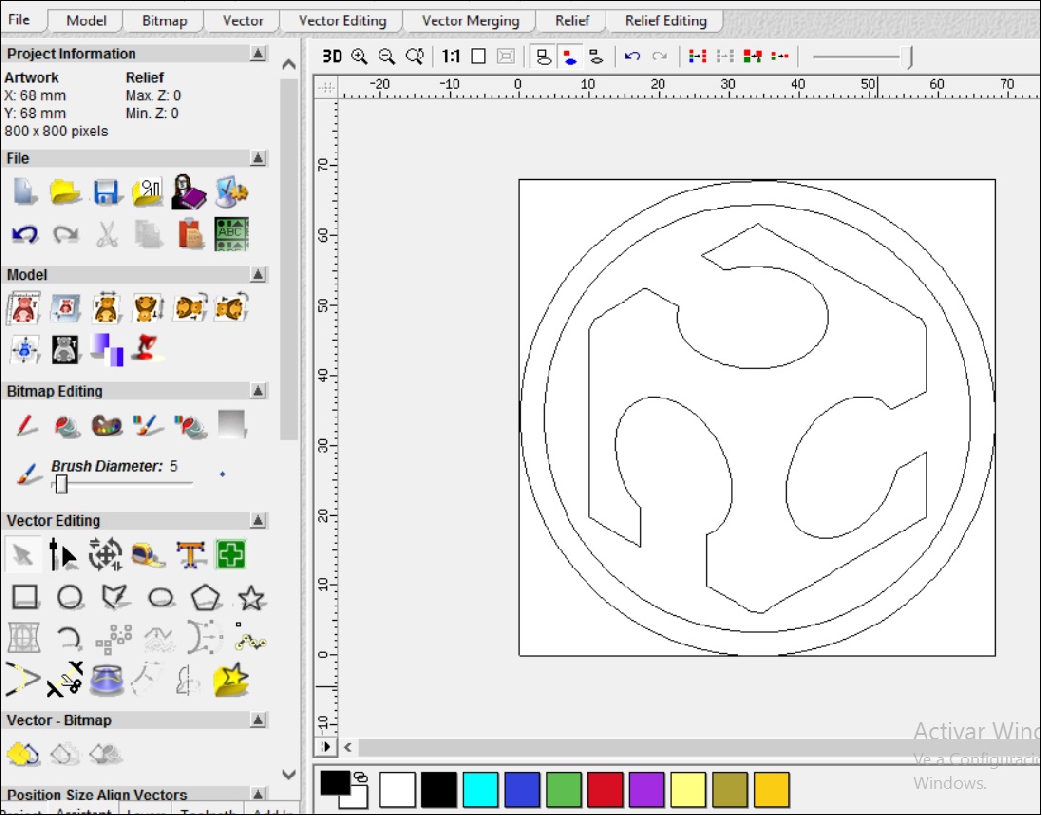
The first step was to configure the work area according to the size of the figure. Subsequently, we import the image in DXF format, as shown in the following figure. Then, we select one of the sections to carry out the roughing, as can be seen.
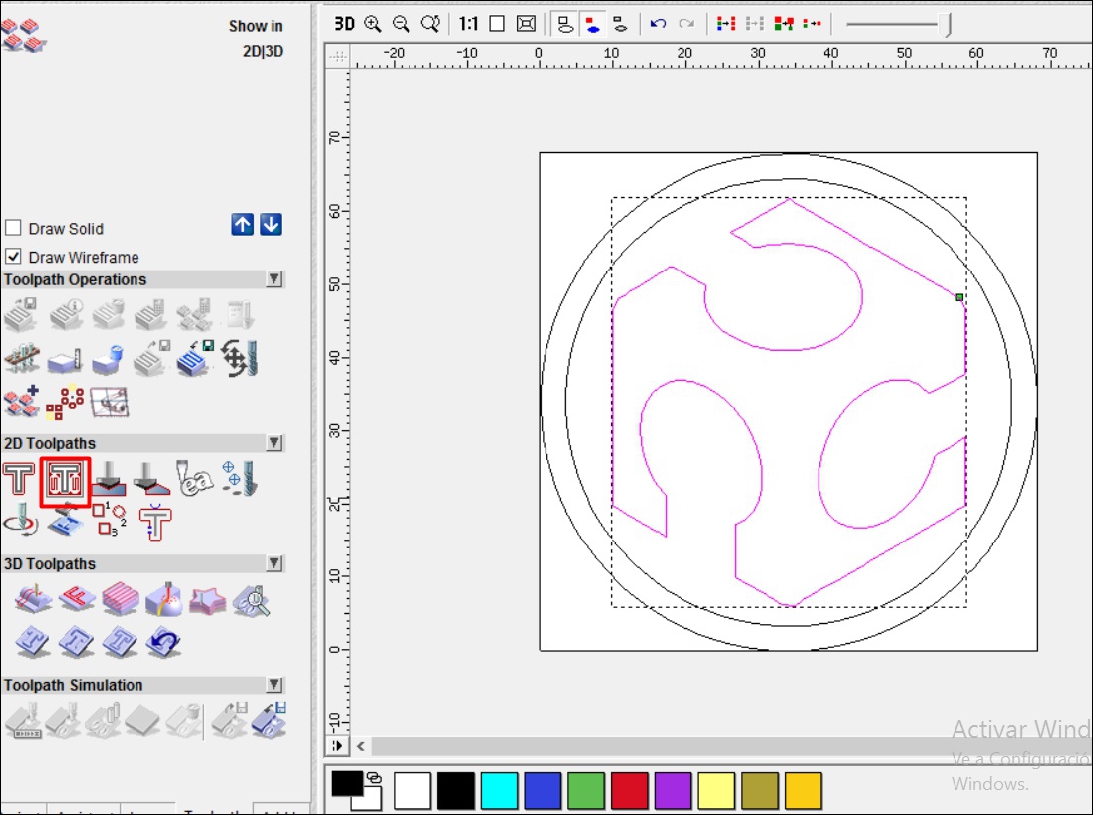
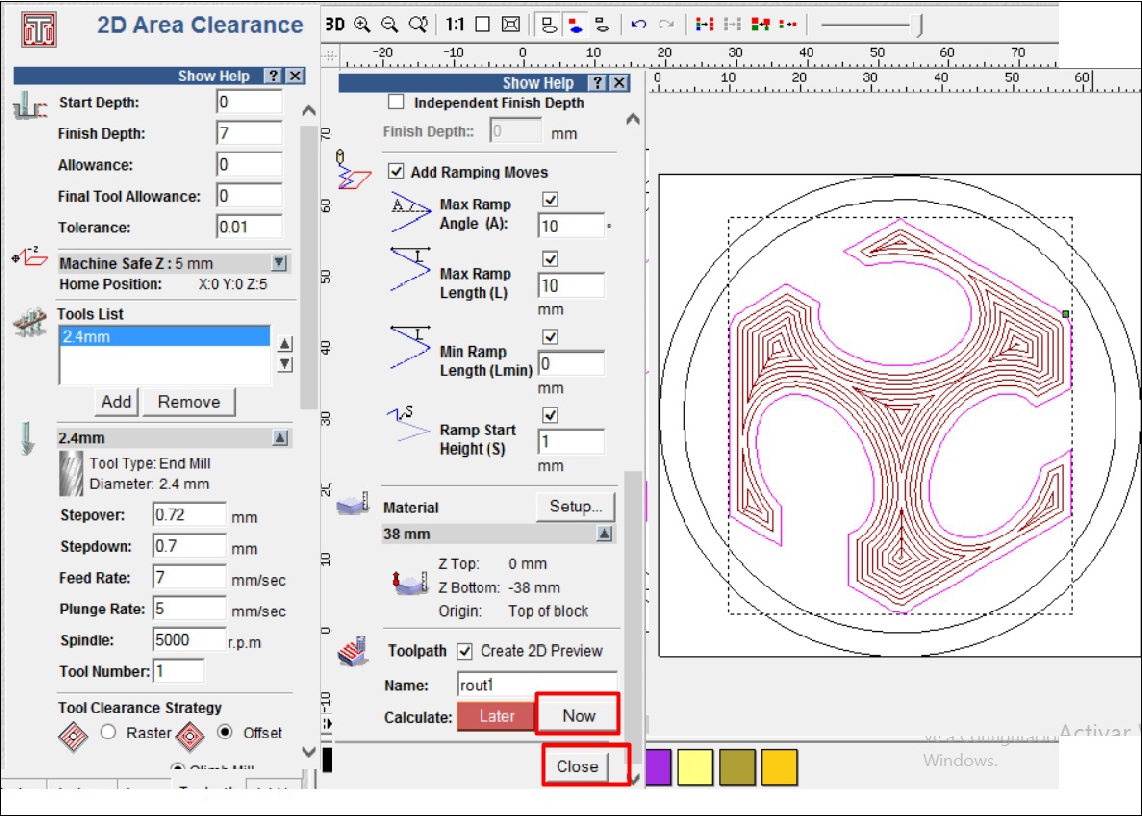
Furthermore, it is notable that the configuration of the type and size of the tool to be used was made, opting for a 2.4 mm milling cutter. In this process, detailed settings of feed rate, spindle speed and other relevant parameters were taken into account to ensure optimal machining.
After completing the configuration, the next step involves exporting the design in G-code (millimeter) format, a crucial action to ensure that the machine can interpret the machining instructions accurately. This preparation stage is essential as it ensures effective communication between the software and the machinery, thus allowing the work process to begin smoothly.
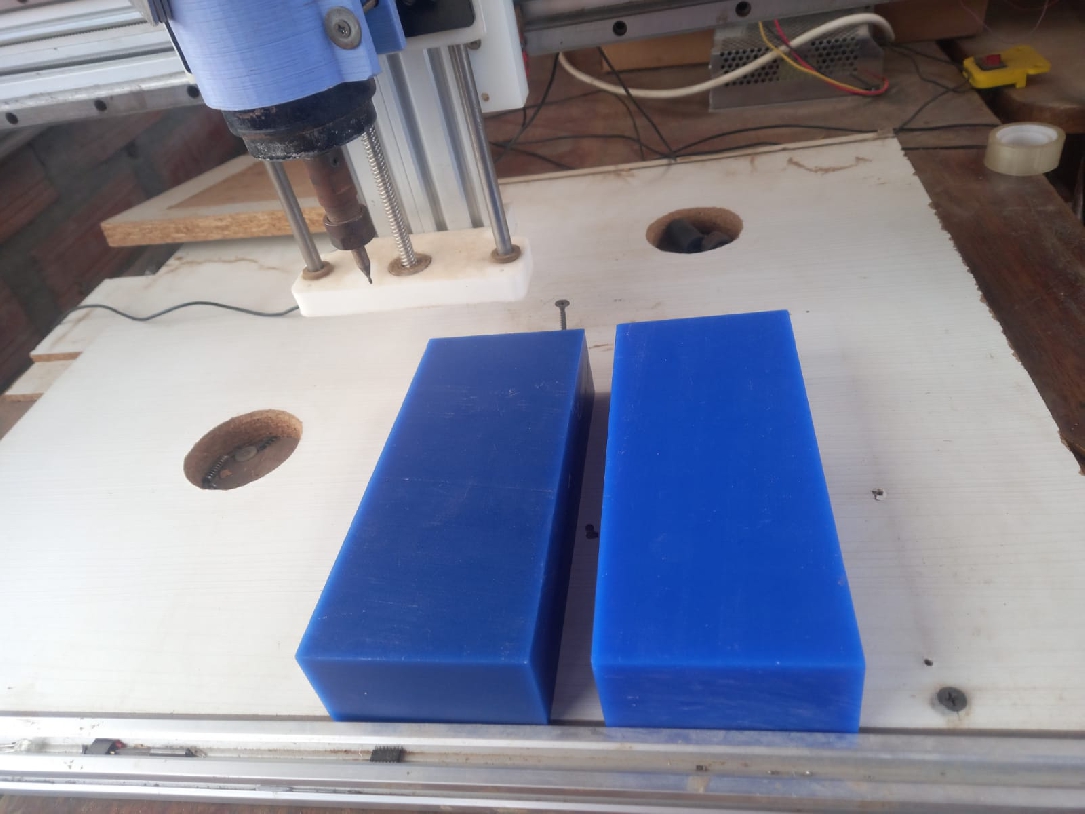
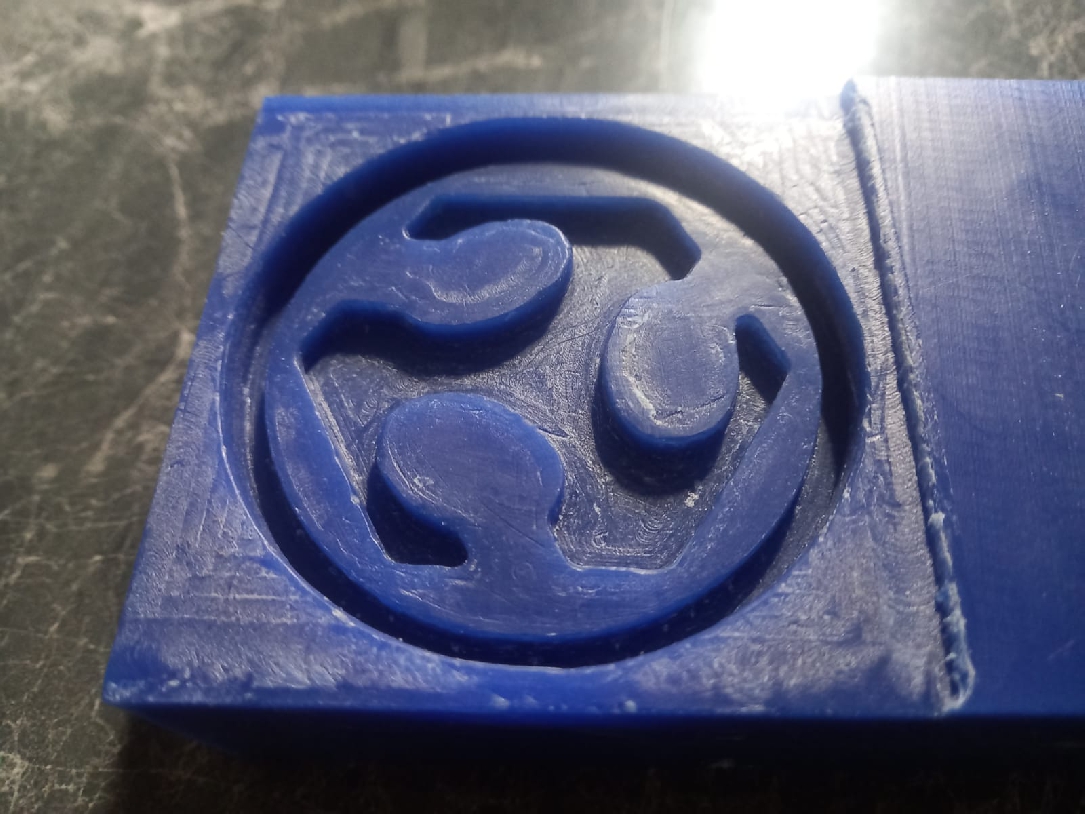
Now that the positive part mold is ready, we are ready to pour the flexible material and proceed with the replication
I'm very excited for what's coming next. The idea of being able to create my own personalized keychains, toys, and other gadgets with just a few materials is really exciting.
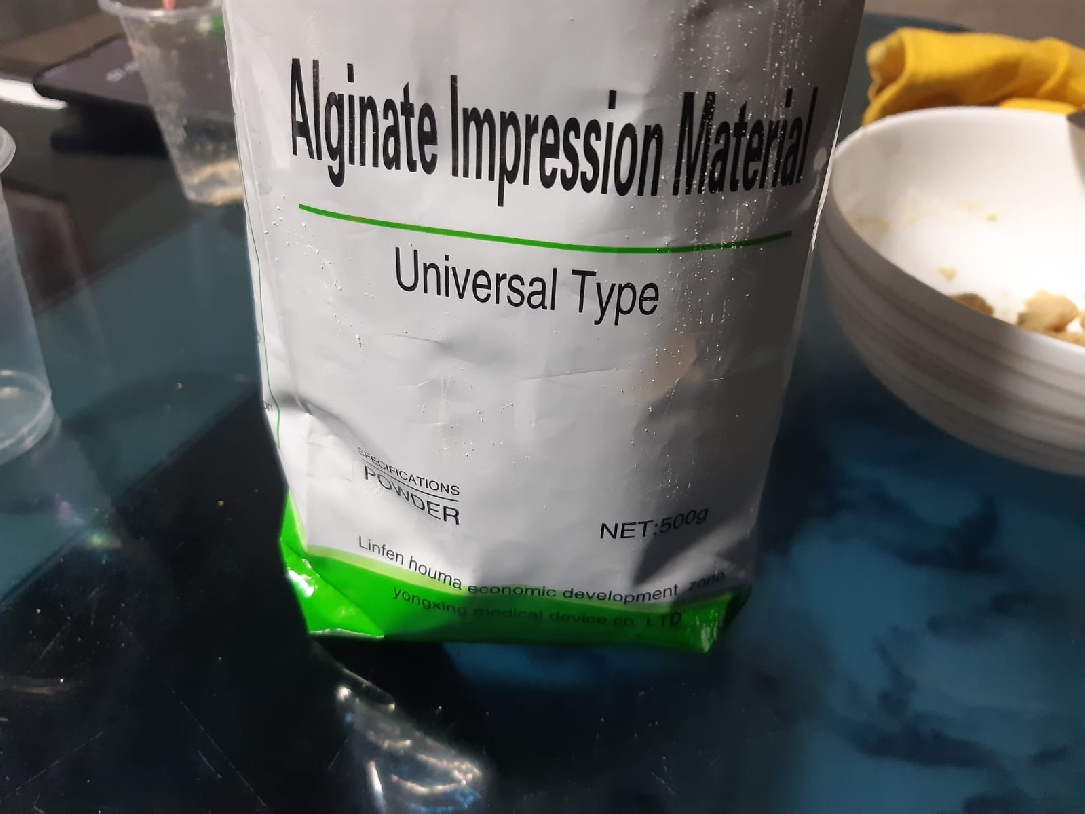
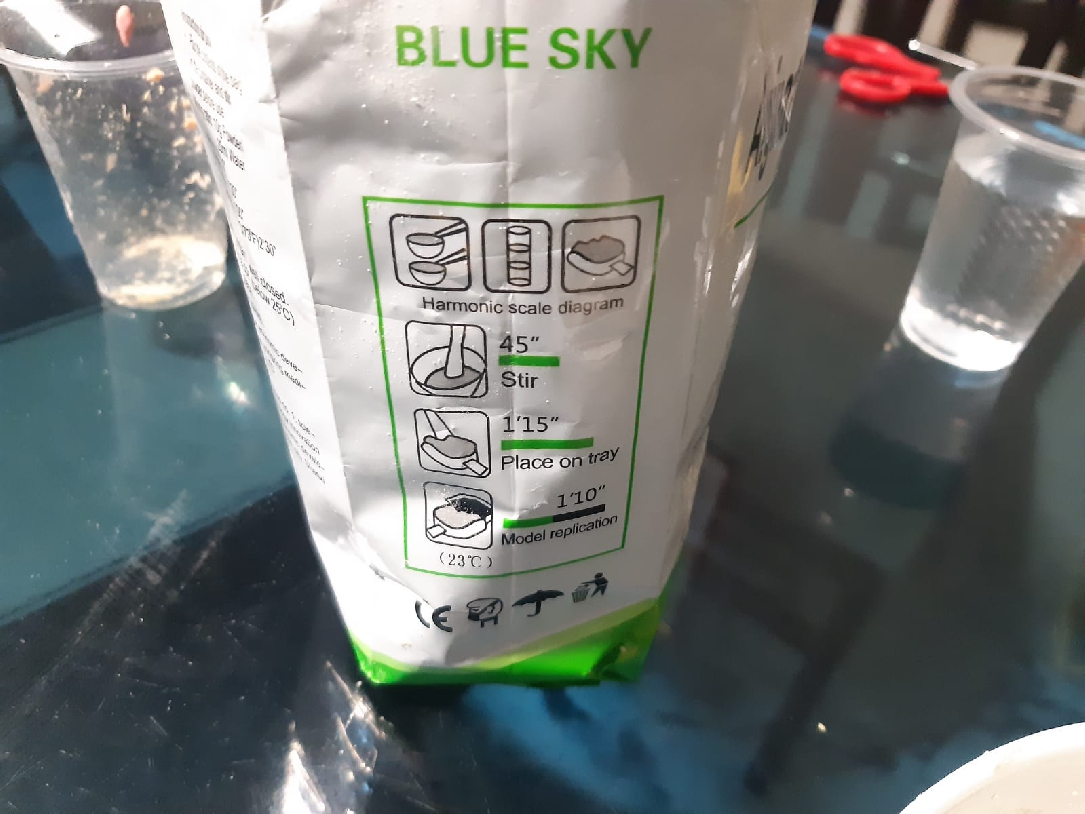
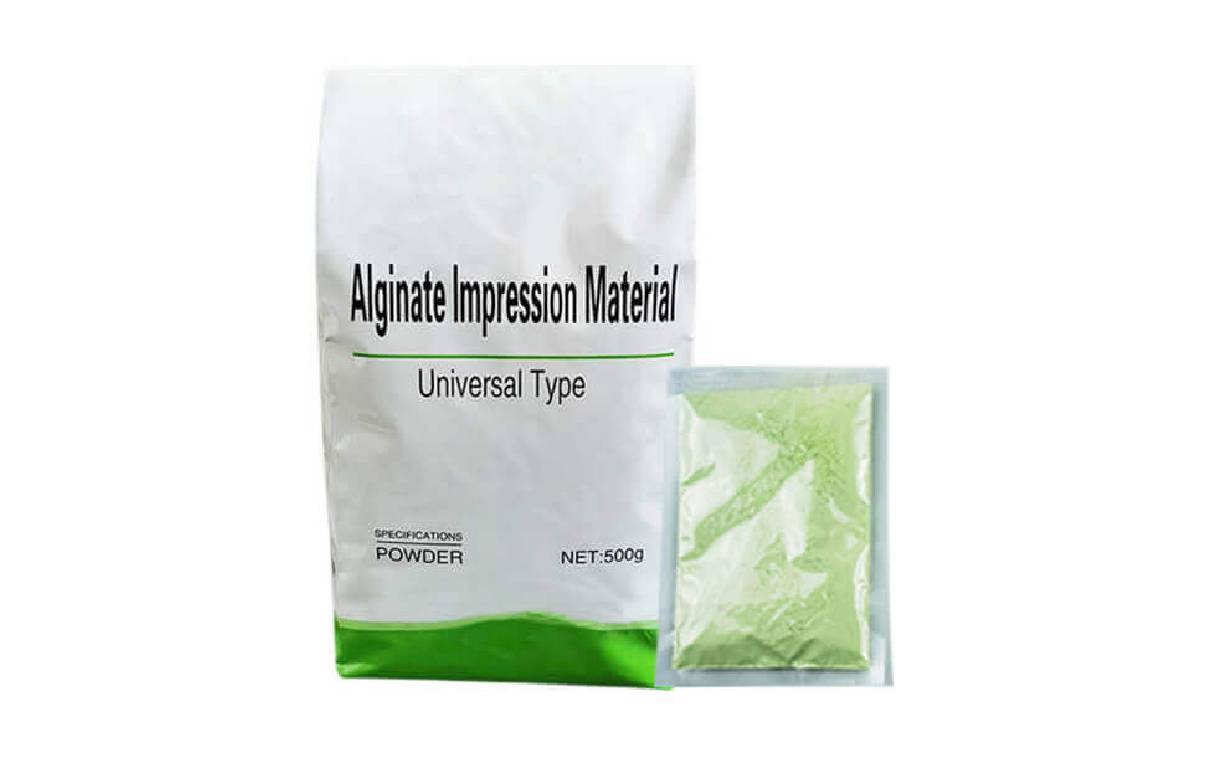
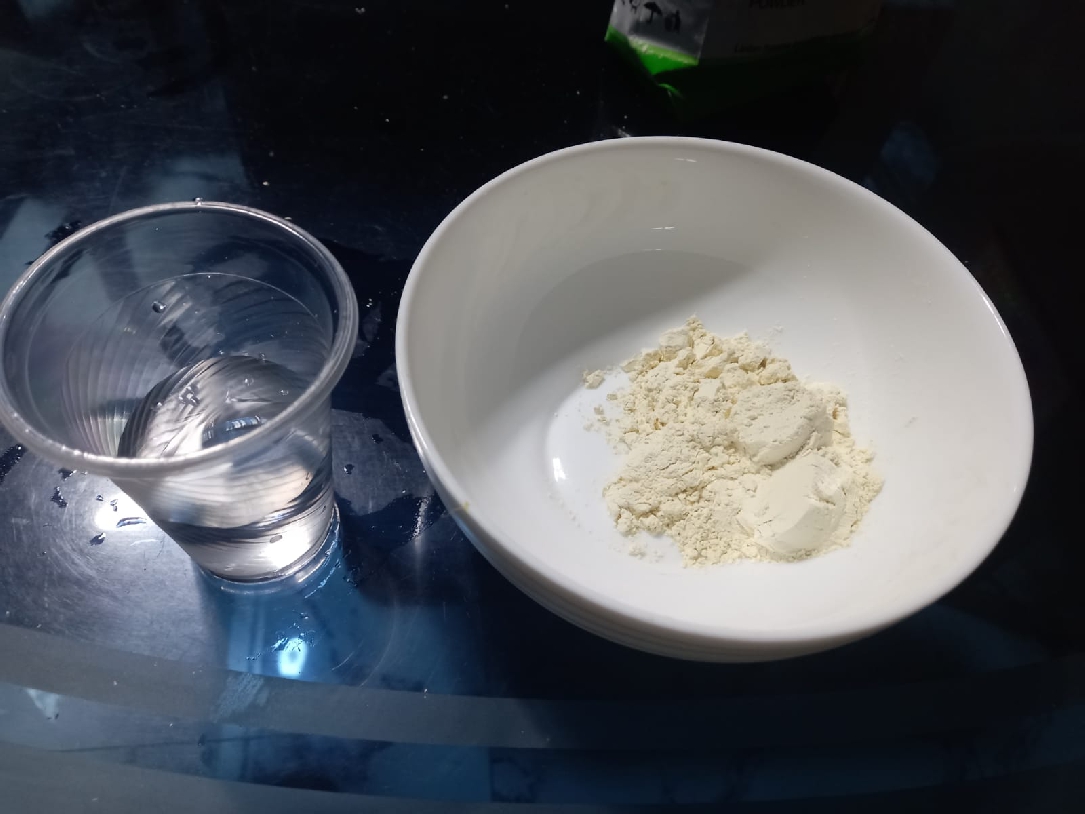
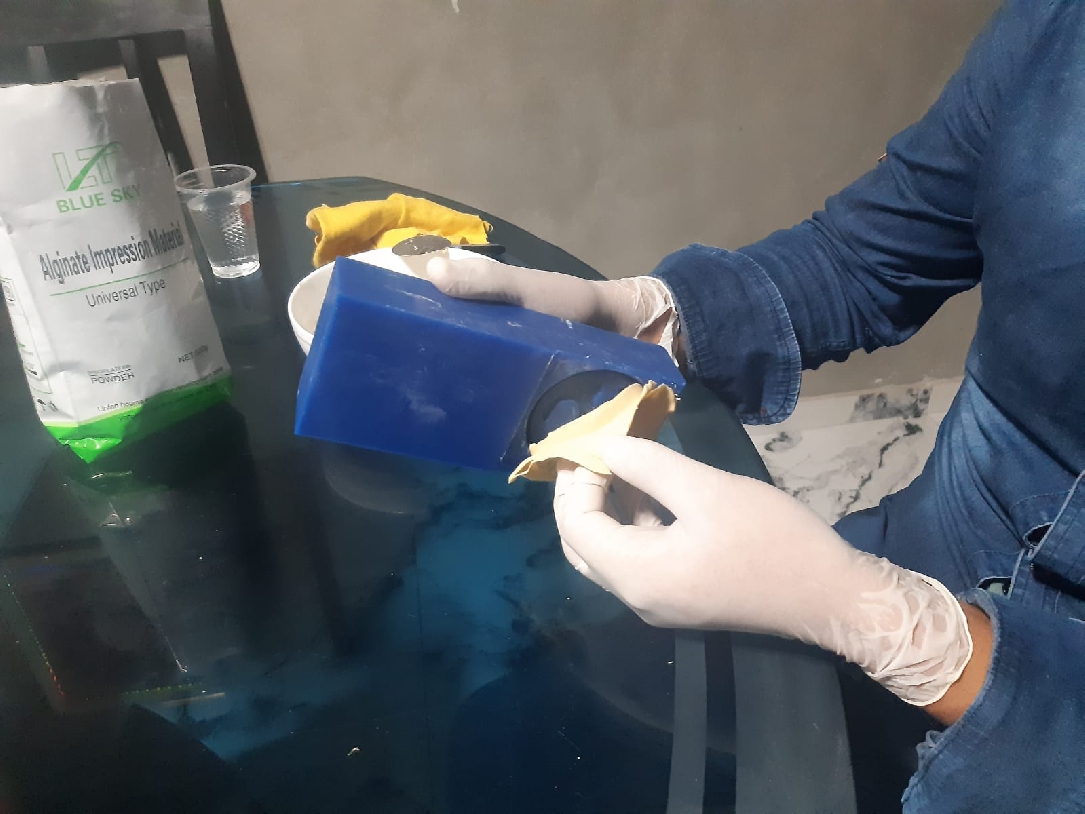
In this case, I used the alginate mentioned above, whose technical sheet was shared in the group. This material comes in powder form and, based on its specifications, requires a 1 to 1 mixing ratio as noted below along with other detailed instructions shown.
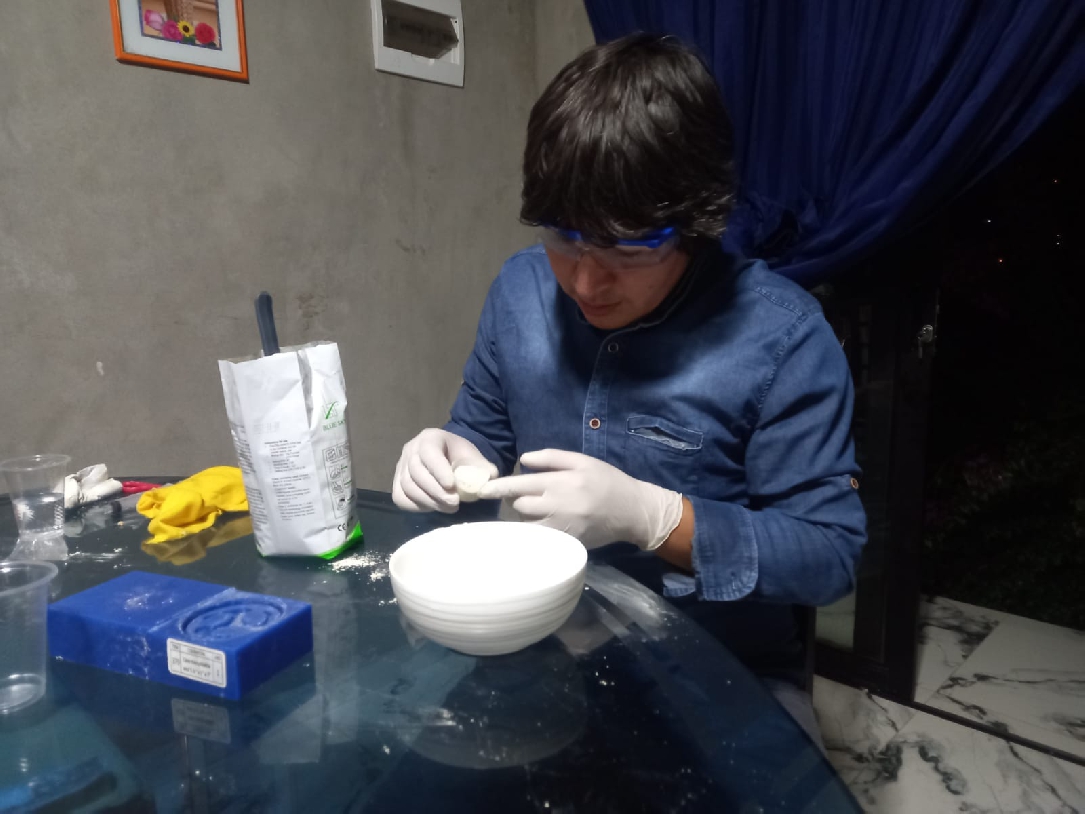
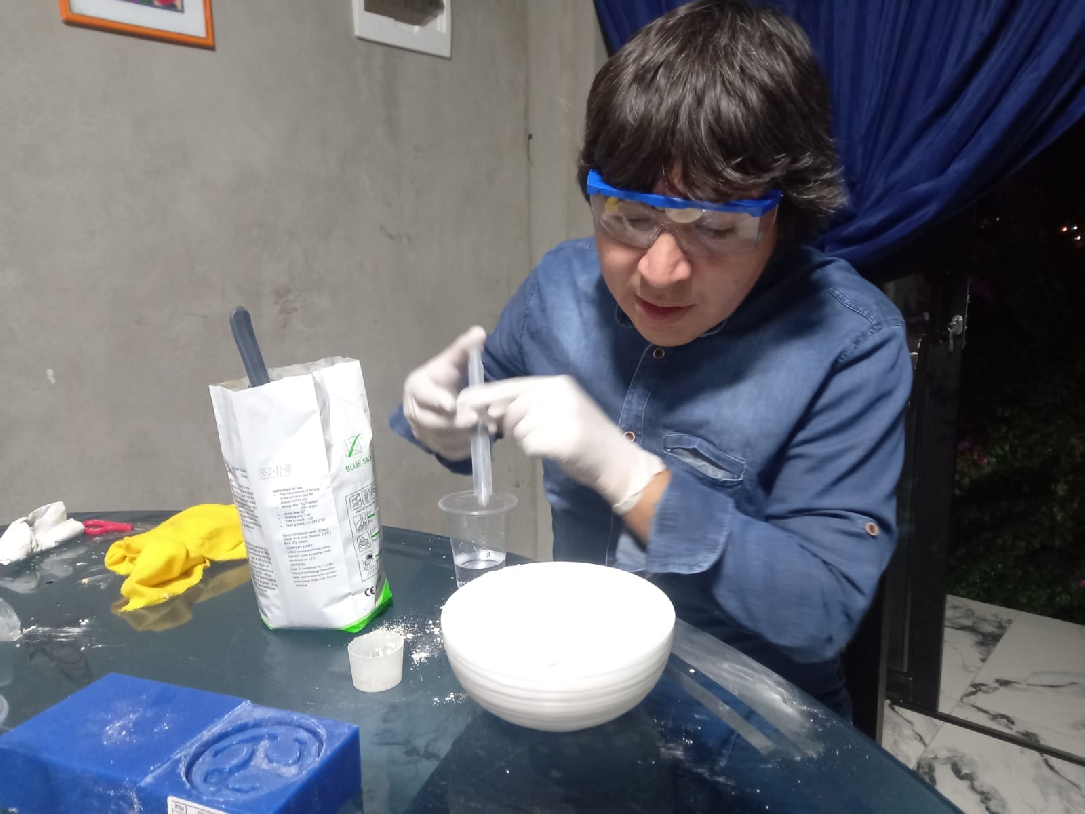
To ensure accurate measurements, I used a 15 milliliter container and a 10 milliliter syringe to calculate the exact amount of alginate and water needed, following the instructions on the data sheet. In this case, 45 grams of alginate and 45 milliliters of water were used, as specified.

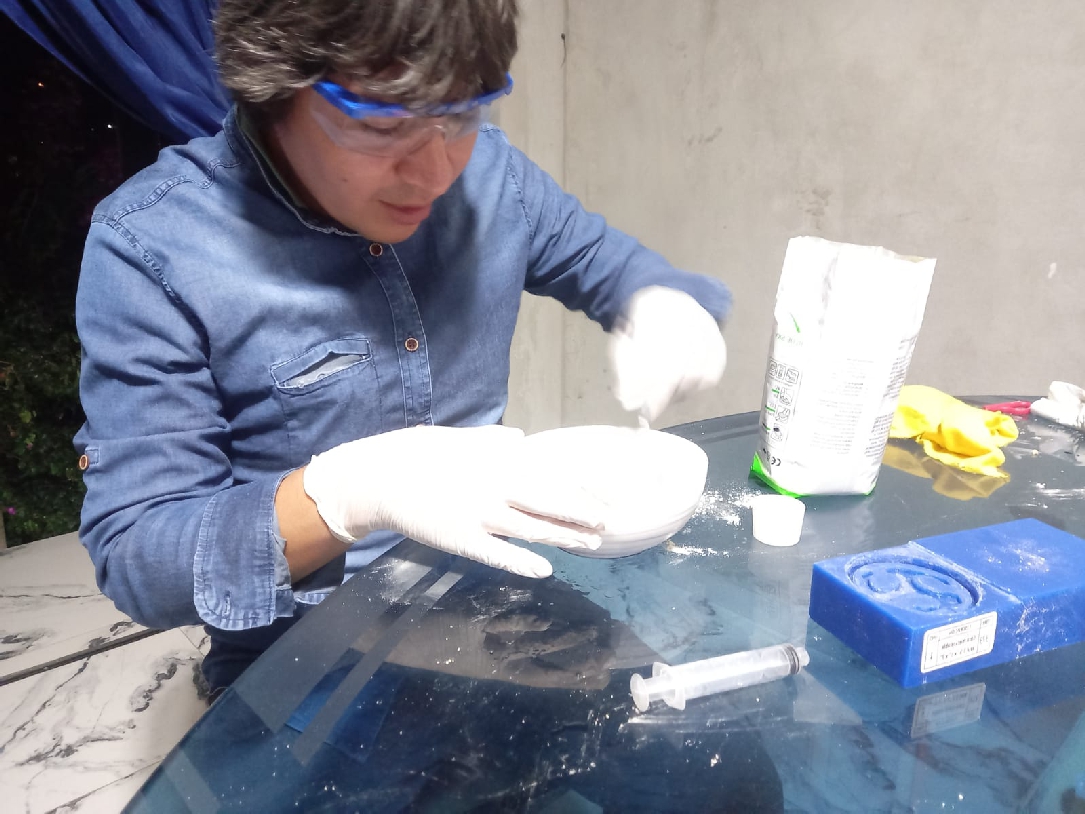
It was a big surprise to discover that, according to the data sheet, the estimated processing time was approximately 10 to 30 minutes. However, in just 30 seconds, the material dried completely, as can be seen in the following image. Due to this unexpected situation, I had to perform a new calculation and adjust the process

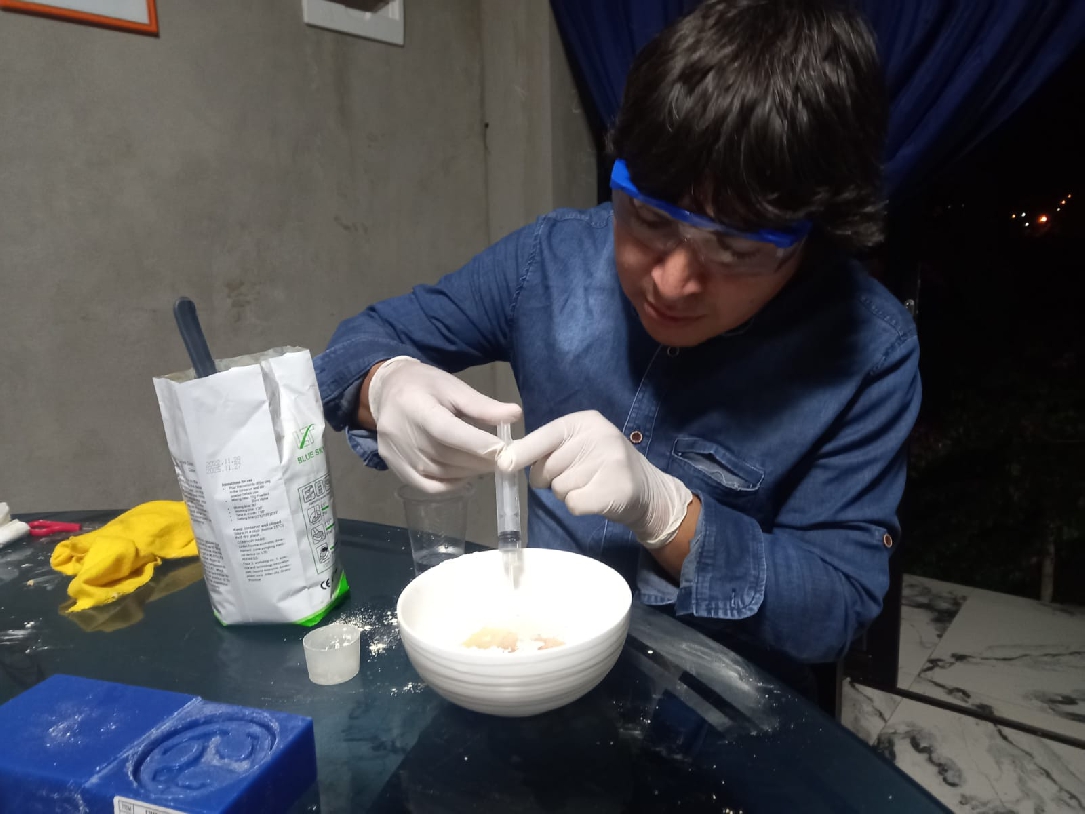
Taking the previous test as a reference, the next step was to add more water, in this case, 60 milliliters, that is, 15 milliliters more than what the product's technical sheet indicates.
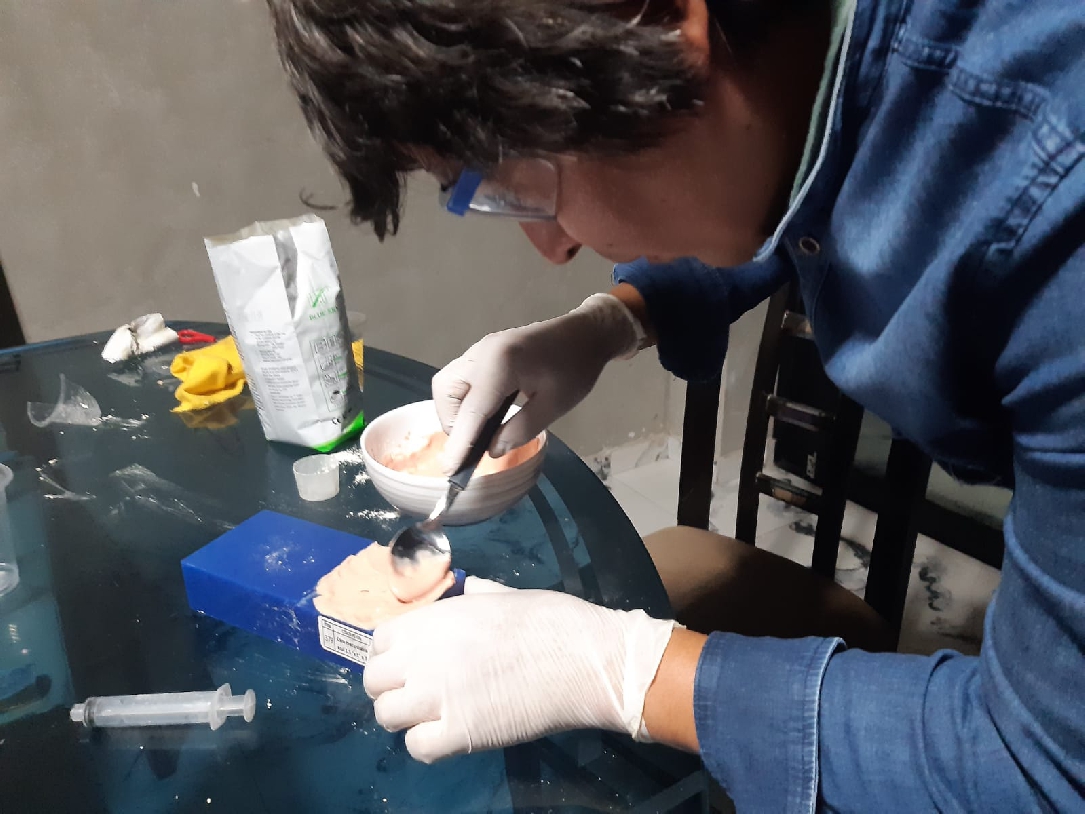
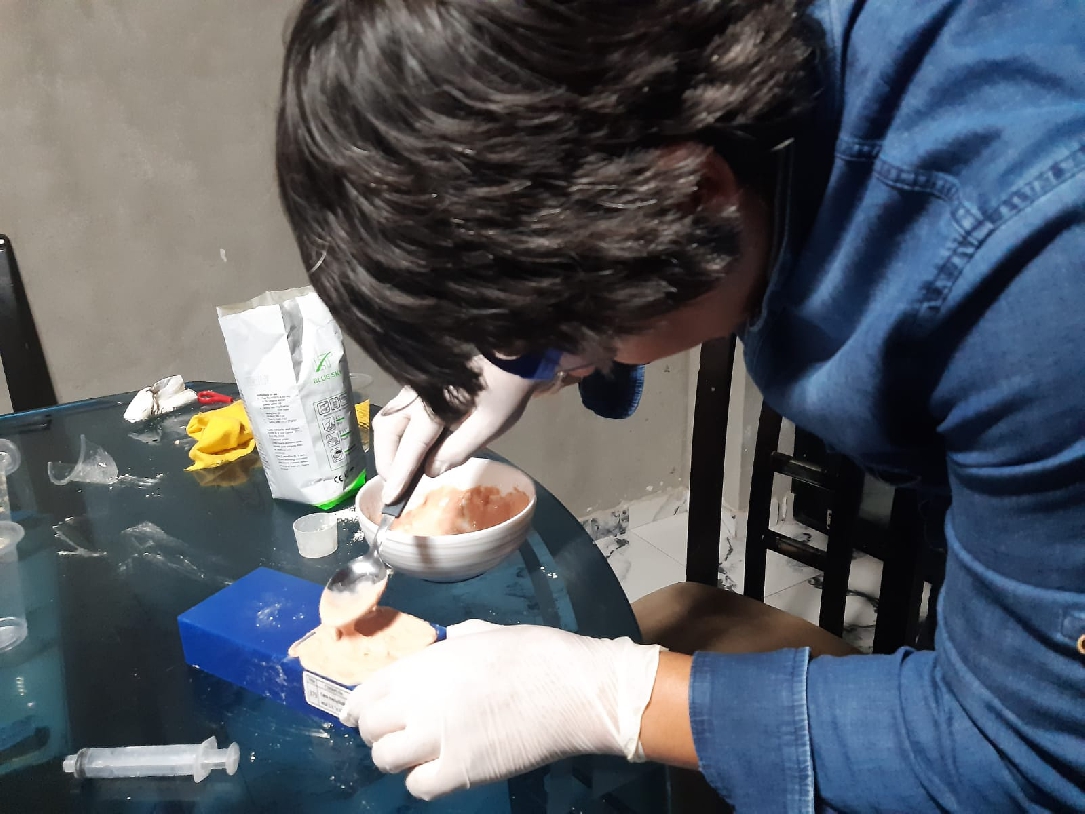
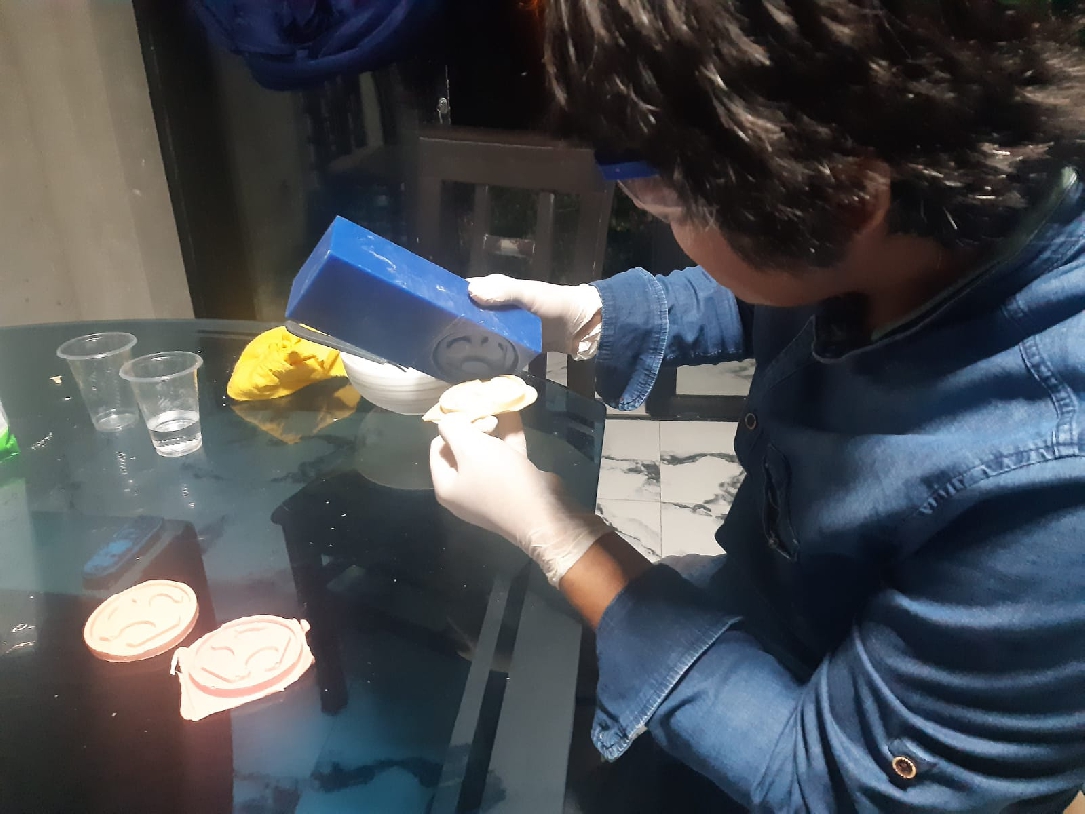
Although the process was quick, I had to repeat it 4 times due to the presence of bubbles. In the first three operations, the bubbles persisted. In the first one, I poured it with a spoon, while in the next two, it took me too long to pour it into the mold. However, in the fourth operation, drawing on previous experience, I simply poured the material and allowed all the holes to be filled evenly by gravity.
The drying process takes approximately 17 minutes, although this time may vary depending on environmental conditions. It is important to note that once the material is solidified, it can be removed carefully to avoid damaging it.
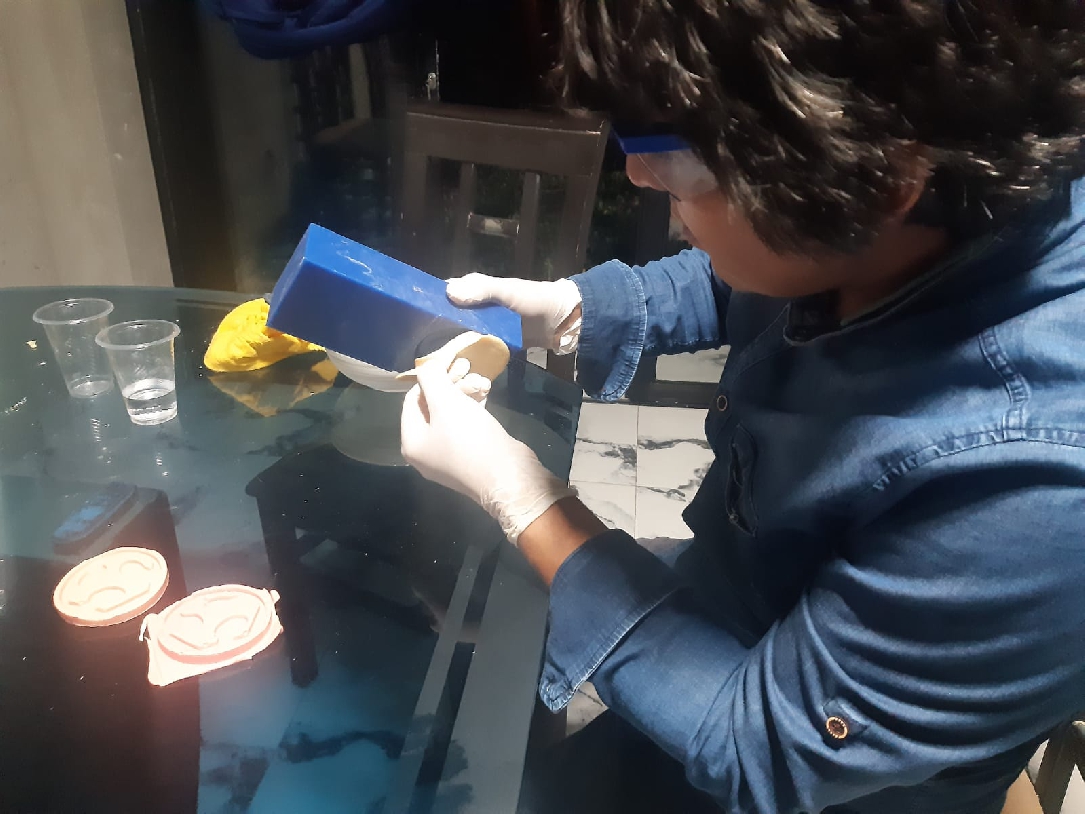
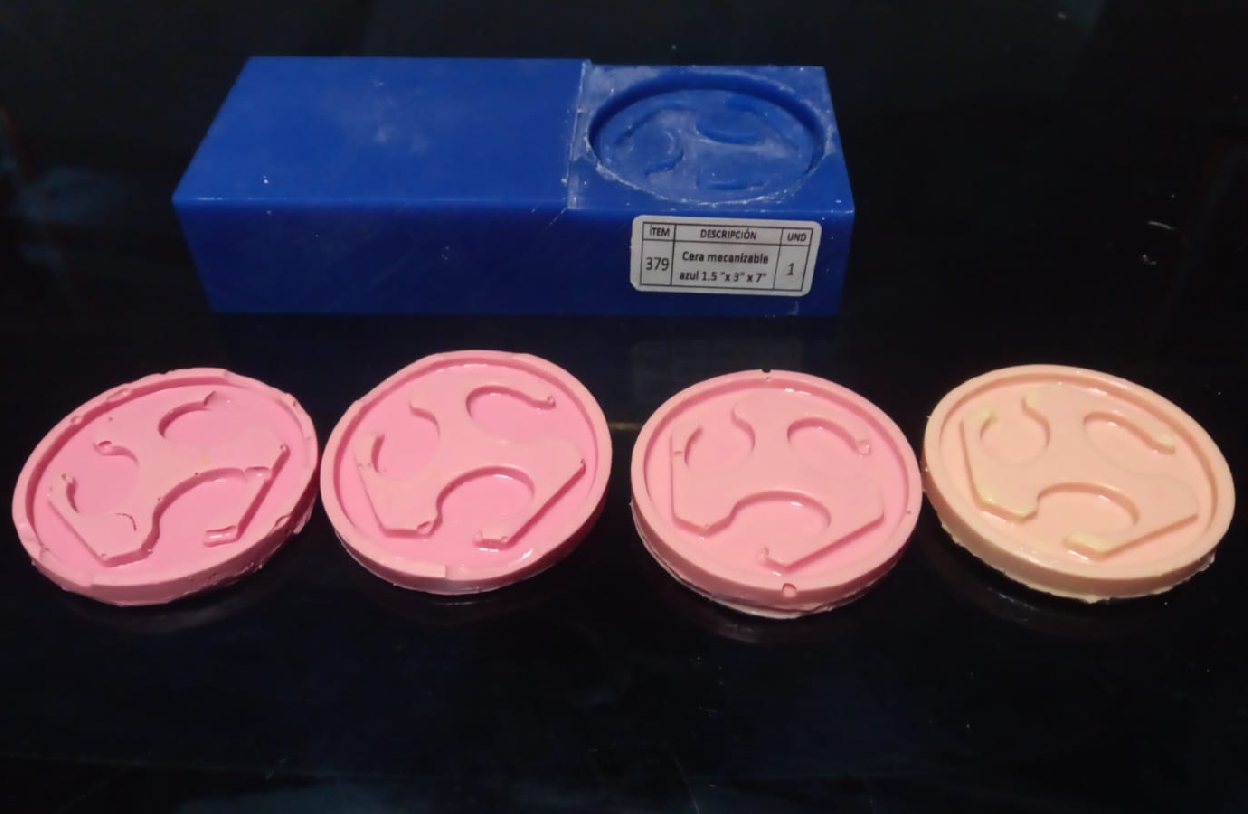
In the following image you can see the results of the four attempts, with the final acceptable product being the fourth one, where I managed to obtain the desired result.
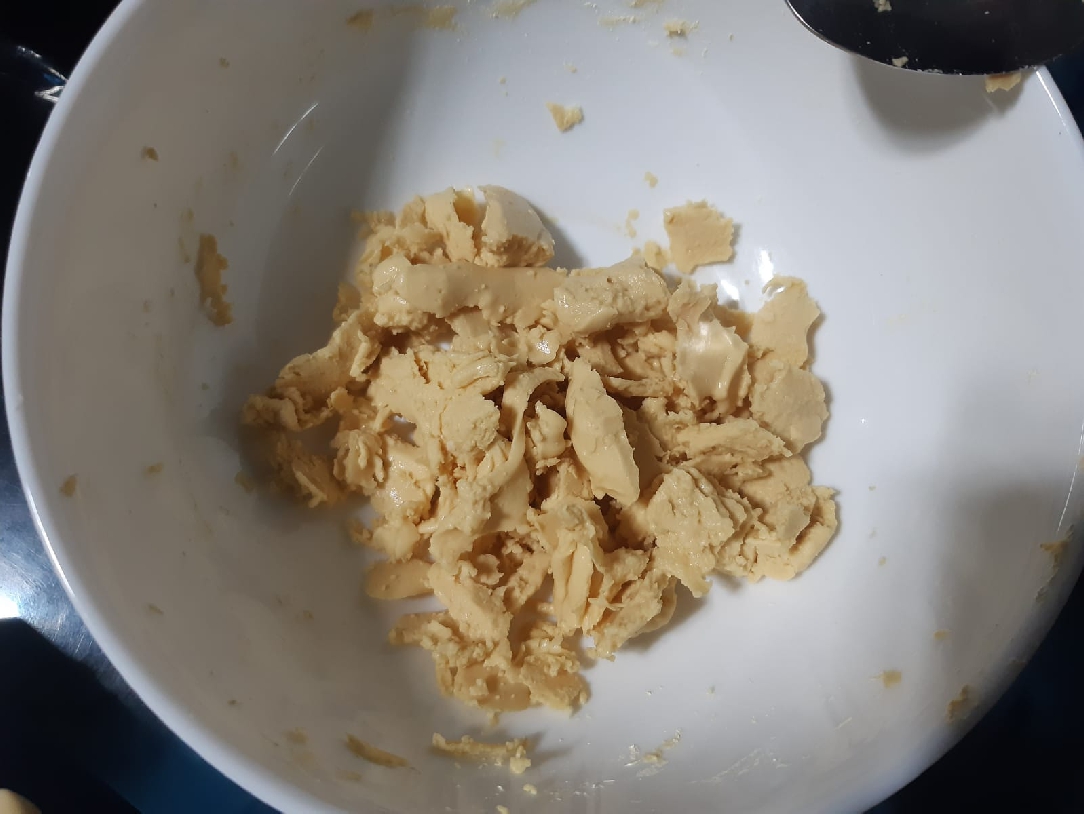
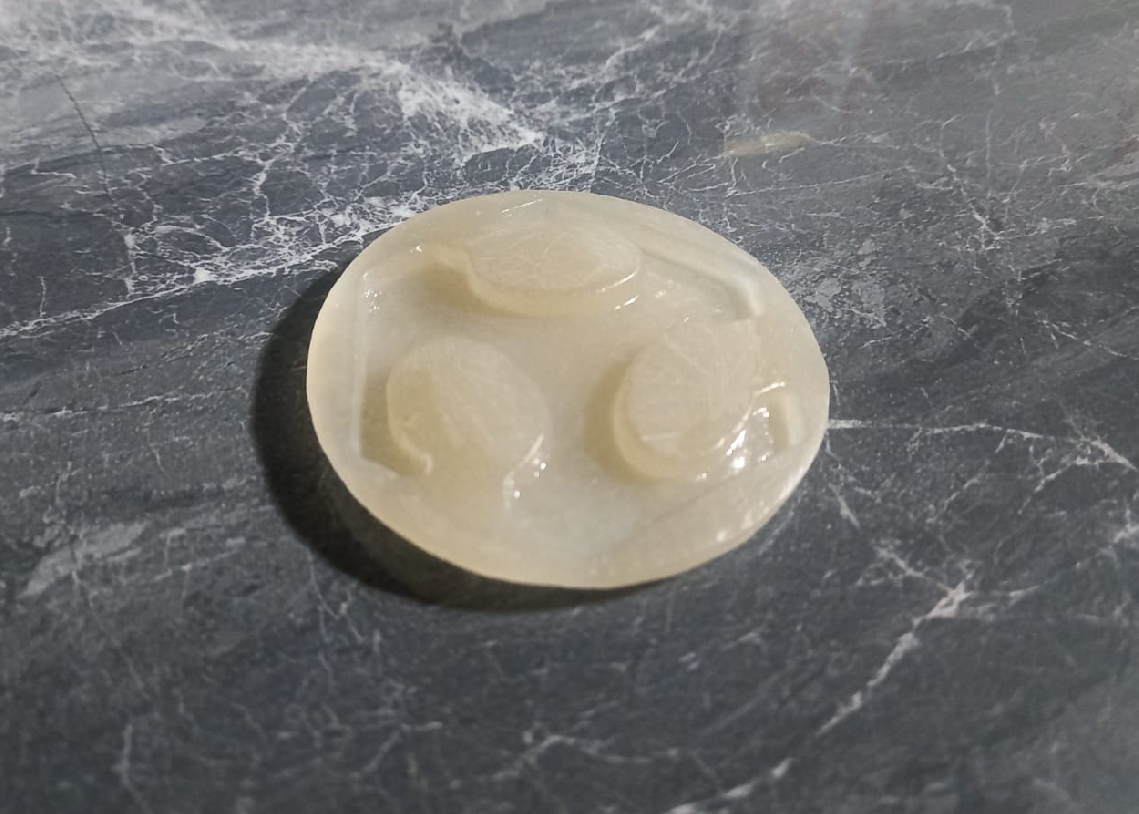
To reproduce the FabLab logo, I used quick-drying epoxy resin, which includes an additive that is added in a proportion of 10 to 20 drops per 10 milliliters of resin. In this case, I used 40 milliliters of resin and added 80 drops of additive. After homogeneous mixing, the solution was ready to pour into the mold in just 4 minutes.
After waiting only 17 minutes, the product is ready. It is surprising how fast and effective this process is. Now we can start making replicas and have your toys personalized with these products. It's exciting to see our ideas come to life so quickly and effectively!
In summary, this week has been incredibly beneficial as I have learned how to create molds with a variety of materials and discovered new ways to get the most out of my CNC. One important point I have learned is that environmental conditions, such as temperature , can significantly influence the material mixing process. For example, although the data sheet may indicate a 1 to 1 ratio for alginate at a temperature of 23°C, my environment was at 17°C, which required adjustment. the proportion to 3/4, that is, three parts alginate and four parts water, to obtain optimal results. These learnings demonstrate the importance of considering all variables in the manufacturing process to guarantee the success of the project.
Development of custom electronic boards with CNC Router.

Development of personalized keychains and ornaments with CNC Laser.
Development of custom machines "Desktop CNC Laser.
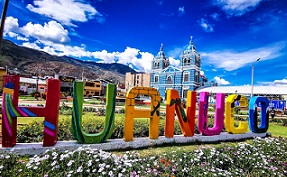
Huánuco is a Peruvian city, capital of the district, province and department of the same name in the north-central area of the country. The city has a population of 235,529 inhabitants. .